
AIRLOCK One
Installation Instructions
BOAT
RV
INSTALLATION TIME | 15 - 30 MINUTES
INSTALLATION TIME | 15 - 30 MINUTES

Step 1
Find the
right location
right location
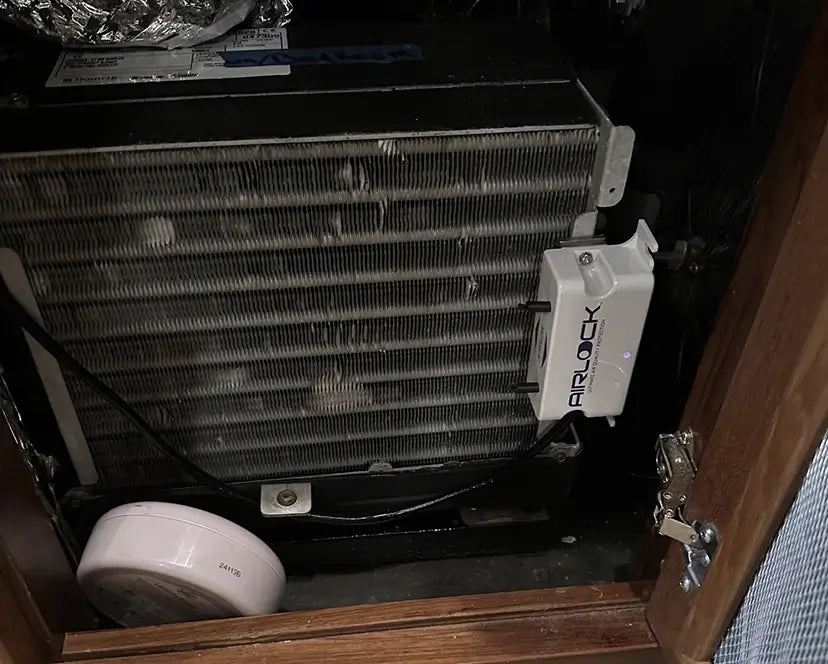
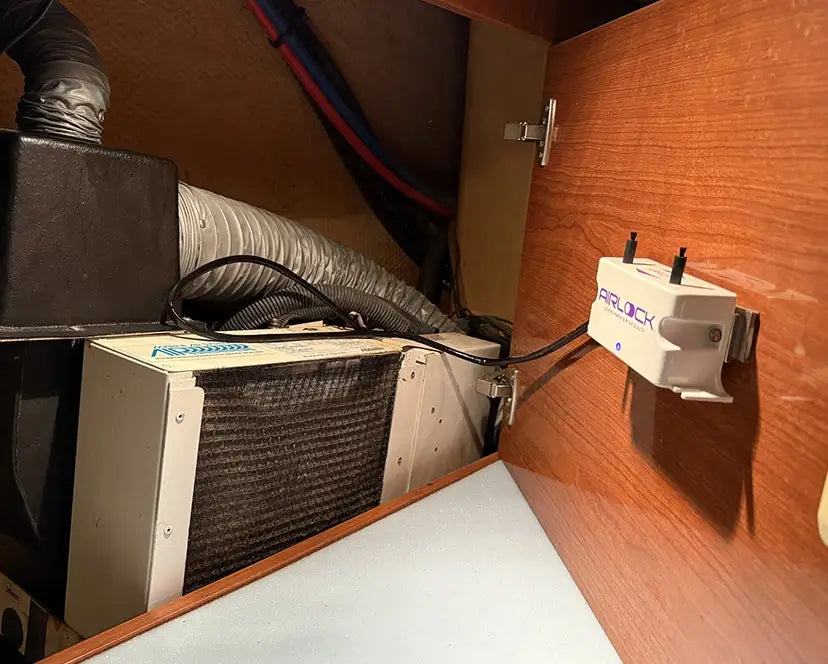
- AIRLOCK One should be installed proximal to the AC intake airflow, to ensure that the airflow passes directly through the ion emitters.
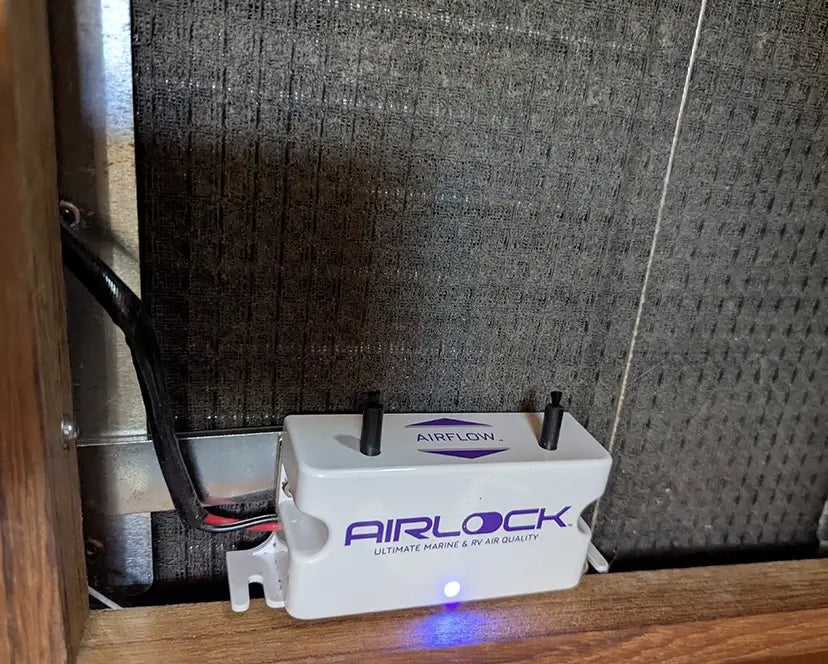
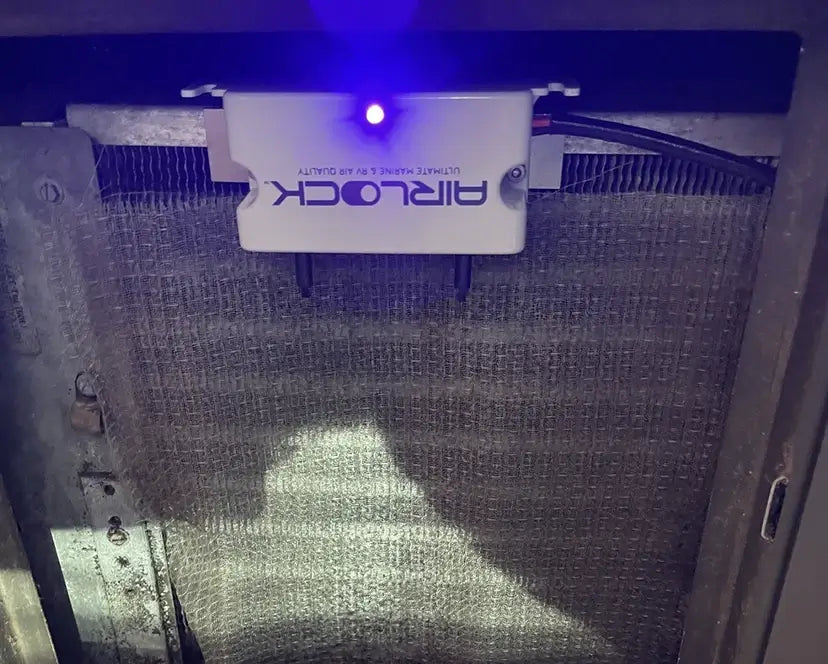
- AIRLOCK One can be installed in any direction—upright, upside down, or sideways.
- The ideal mounting location is in front of the AC filter and coils (cooling fins). However, we understand that sometimes this may not be feasible due to the boat's design and construction. If it cannot be installed in front of the AC unit, ensure that the device is located as close to the AC intake airflow as possible.
- Make sure the ion emitters don’t touch any surface to avoid interference or damage.
Step 2
Mount
the device
the device
- AIRLOCK One can be mounted in 2 different ways. Every boat is different, so we encourage you to use the one that suits your needs best.
Option A
MAGNETIC MOUNTING PLATE
- Clean the surface where you want to attach the magnetic mounting plate. Ensure the surface is free from humidity, dust, grease, and oil.
- Separate the magnetic mounting plate from the magnets.
- Peel off the red liner to expose the adhesive and firmly press the plate onto the cleaned surface for at least 10 seconds.
- Wait for 10 minutes to allow the adhesive to bond properly.
- Bring the AIRLOCK One close to the mounting plate and let the magnets attract to it.

Option B
SCREWS
- Firmly secure the device using the included self-drilling screws. The device can be installed either vertically or horizontally, based on your preference and needs.
- When attaching the device to a grille or screen, nylon ties may be used.
- The ion emitters should not touch any metal surface or wires. Move and secure any wires that may come in contact with the ion emitters.

Step 3
Connect the wires to a power source
- Ensure power is off.
- Ensure the power source matches the 100-240VAC voltage requirement.
- In 110V systems, connect the red wire to live (L) and the black wire to neutral (N).
- In 220V systems, connect the red wire to L1 and the black wire to L2.
- A handy approach is to connect AIRLOCK One directly to the fan's power source. This configuration ensures that ions are generated only when necessary.

Step 4
Turn on the
power supply
power supply
- Check the device is secured and correctly wired.
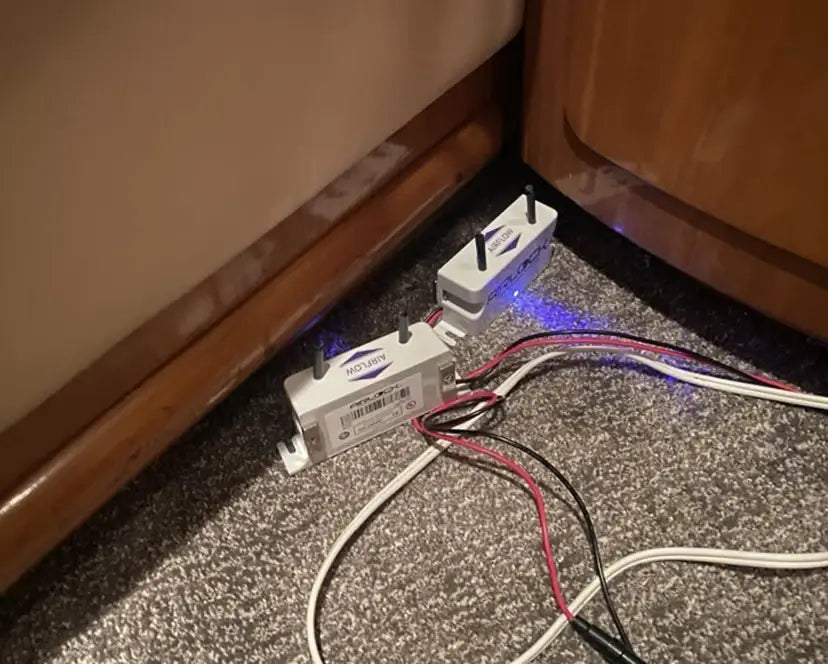
- Turn on the power supply. A purple LED indicator will illuminate constantly when the device is working properly.
- To verify output, take a non-contact voltage reader and place it near the ion emitters it should indicate voltage.
- AIRLOCK One can remain powered at all times.
Step 1
Find the
right location
right location
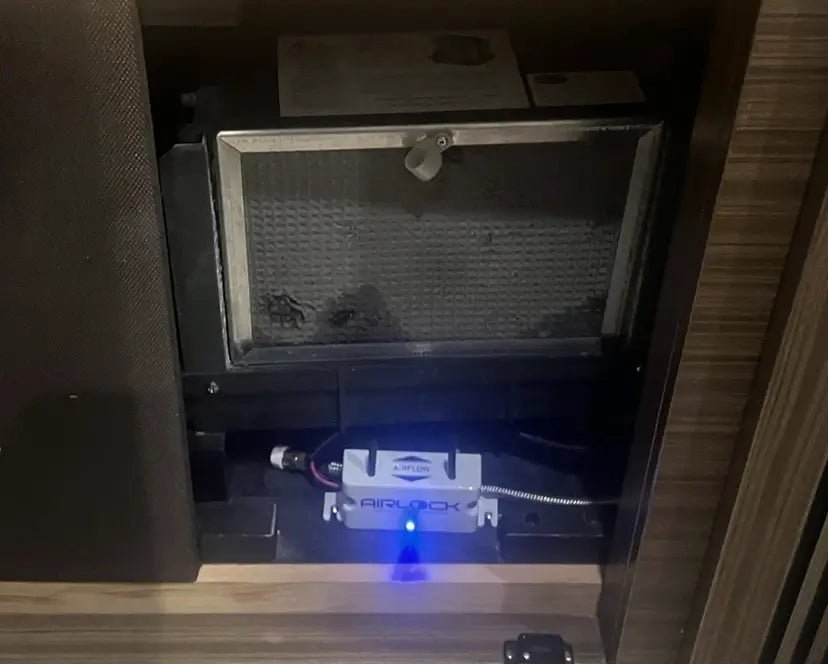
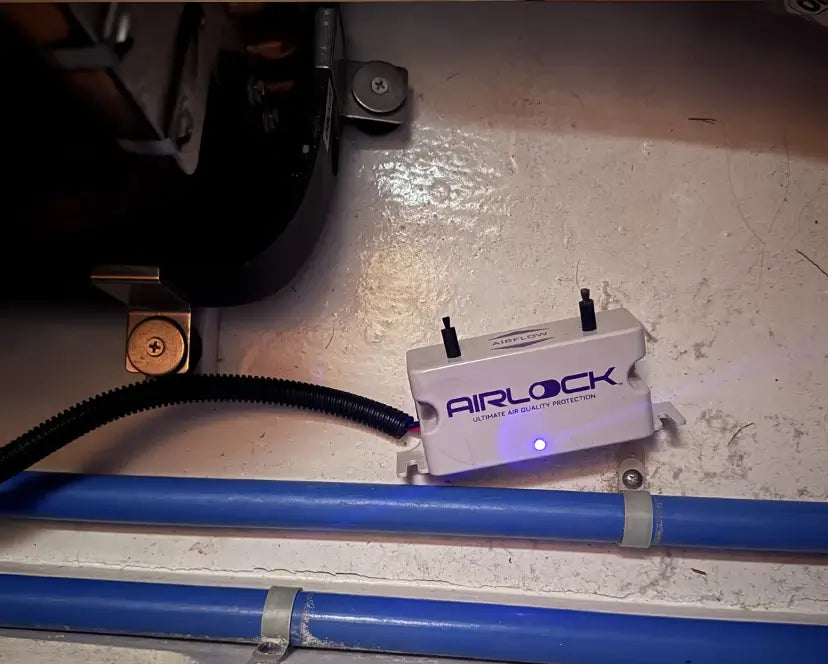
- AIRLOCK One must be installed directly within the AC airflow path to ensure proper function. Many customers adapt these instructions to find creative mounting solutions tailored to their RV's AC setup.
- AIRLOCK One can be installed in any direction—upright, upside down, or sideways.


Step 2
Mount
the device
the device
- AIRLOCK One can be mounted in 2 different ways. Every boat is different, so we encourage you to use the one that suits your needs best.
Option A
MAGNETIC MOUNTING PLATE
- Clean the surface where you want to attach the magnetic mounting plate. Ensure the surface is free from humidity, dust, grease, and oil.
- Separate the magnetic mounting plate from the magnets.
- Peel off the red liner to expose the adhesive and firmly press the plate onto the cleaned surface for at least 10 seconds.
- Wait for 10 minutes to allow the adhesive to bond properly.
- Bring the AIRLOCK One close to the mounting plate and let the magnets attract to it.
Option B
SCREWS
- Firmly secure the device using the included self-drilling screws. The device can be installed either vertically or horizontally, based on your preference and needs.
- When attaching the device to a grille or screen, nylon ties may be used.
- The ion emitters should not touch any metal surface or wires. Move and secure any wires that may come in contact with the ion emitters.
Step 3
Connect the wires to a power source
- Ensure power is off.
- Ensure the power source matches the 100-240VAC voltage requirement.
- In 110V systems, connect the red wire to live (L) and the black wire to neutral (N).
- In 220V systems, connect the red wire to L1 and the black wire to L2.
- A handy approach is to connect AIRLOCK One directly to the fan's power source. This configuration ensures that ions are generated only when necessary.

Step 4
Turn on the
power supply
power supply
- Verify the device is secured and correctly wired.
- Turn on the power supply. A purple LED indicator will illuminate constantly when the device is working properly.
- To verify output, take a non-contact voltage reader and place it near the ion emitters it should indicate voltage.
- AIRLOCK One can remain powered at all times.